
A majority of the shorts we do are bred from lengthy "what if" conversations that my brothers and I have, usually during car rides to and from gigs.
Most of our convo's are just absurd, which, I think, sincrely reflects our humor. Zombie Anxiety is in that vain. Not a short flick to be taken seriously, just middle school humor for those of us who still chuckle at dick and fart jokes.
Our workflow for these types of shorts are simple, because they are mainly ad lib.
With the exception of a few lines, we really like to have our talent just go off on their own vulgar rhetoric.
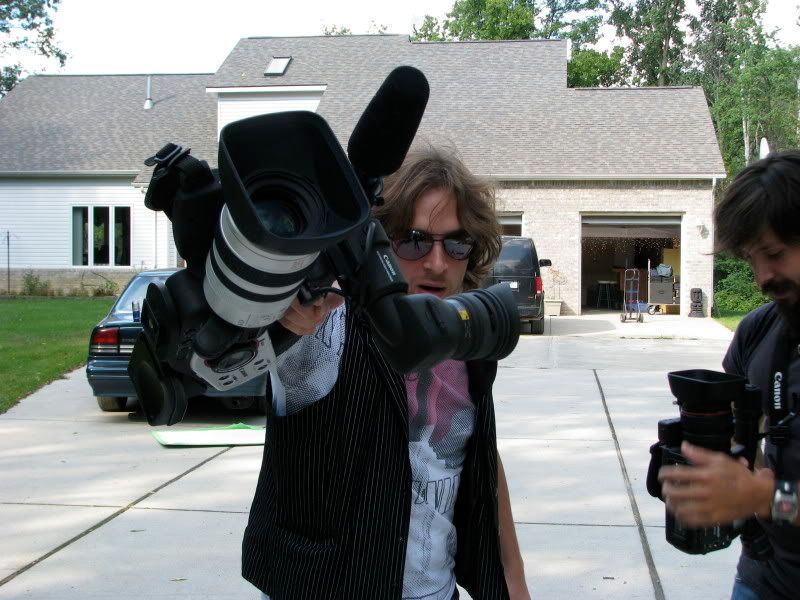
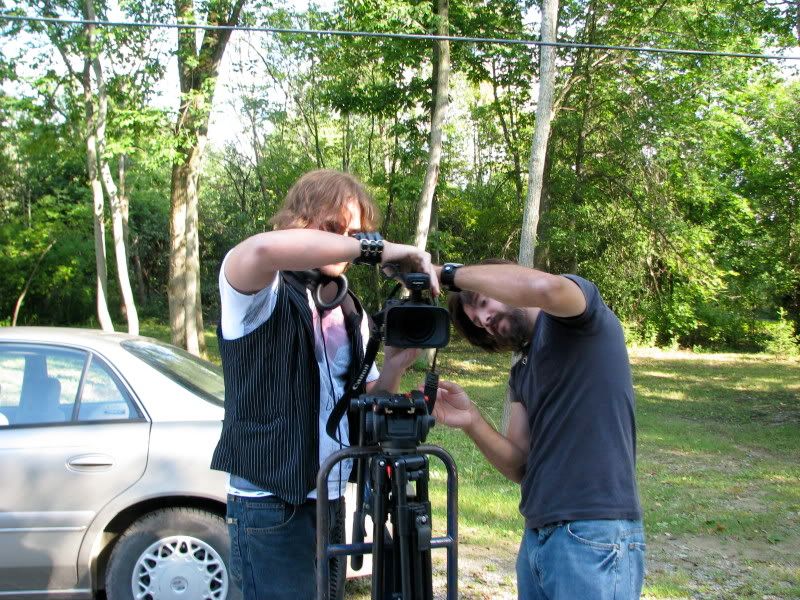
We shot the entire footage in four hours on a Canon XHA1 and Canon XL2.
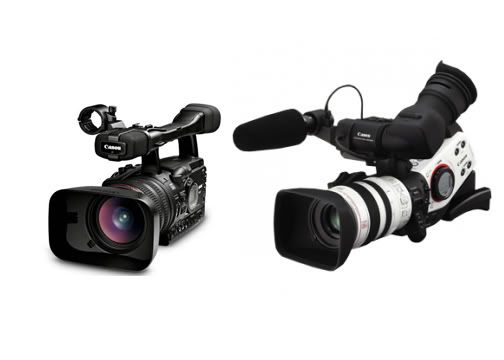
I'm not opposed to using two types of cameras, especially for artistic reasons, however that wasn't the case here.
Canon XHA1 is a 1080, HDV camera, where as the XL2 is a standard def camera. Don't mix these mediums because in the end you have adjust down or up, and sacrifice quality. The XHA1 allows you to shoot SD, which I opted not to do. So in the end, I had to down convert the footage to match the SD, which in most cases just sucks.
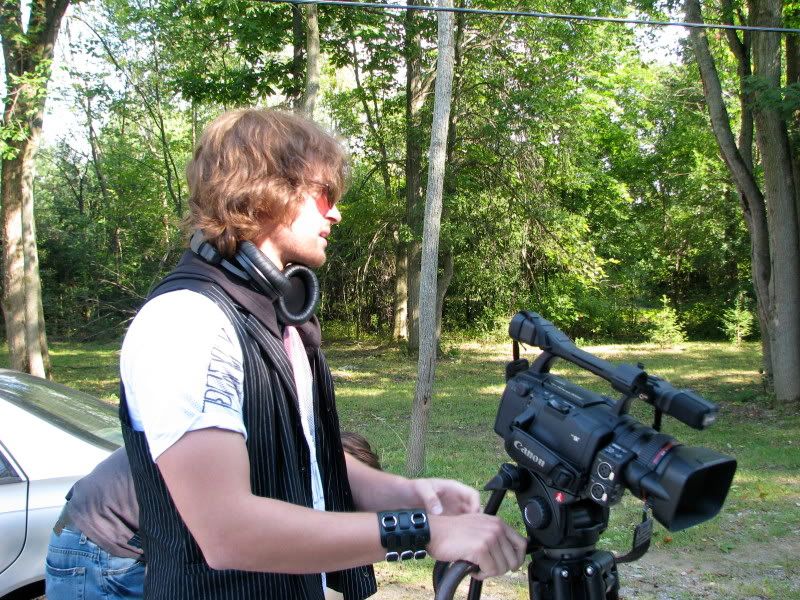
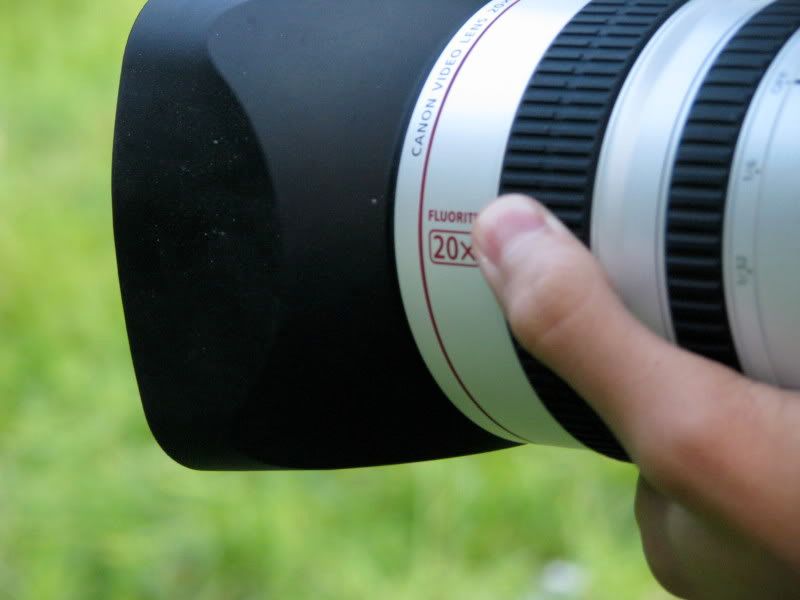
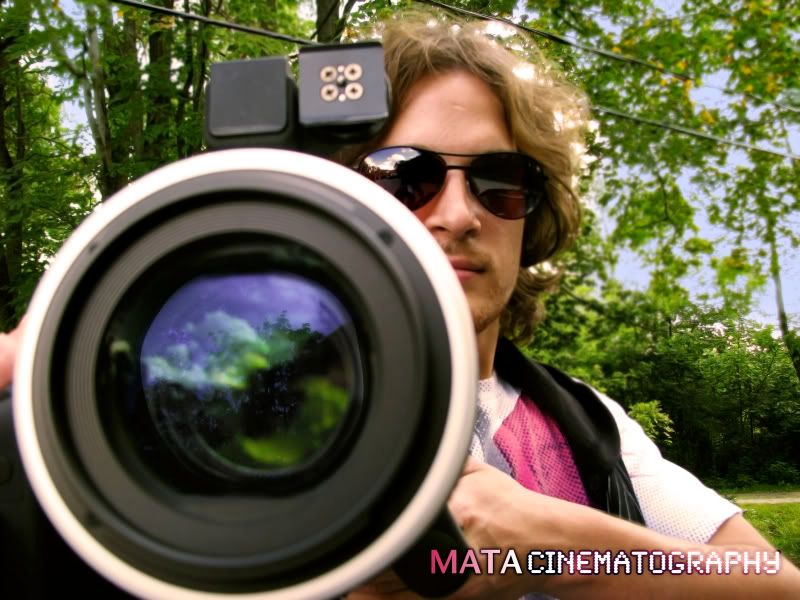
The XL2 has a great lens! Its optics aren't the highest quality, but they kill most of the competition prosumer lens.
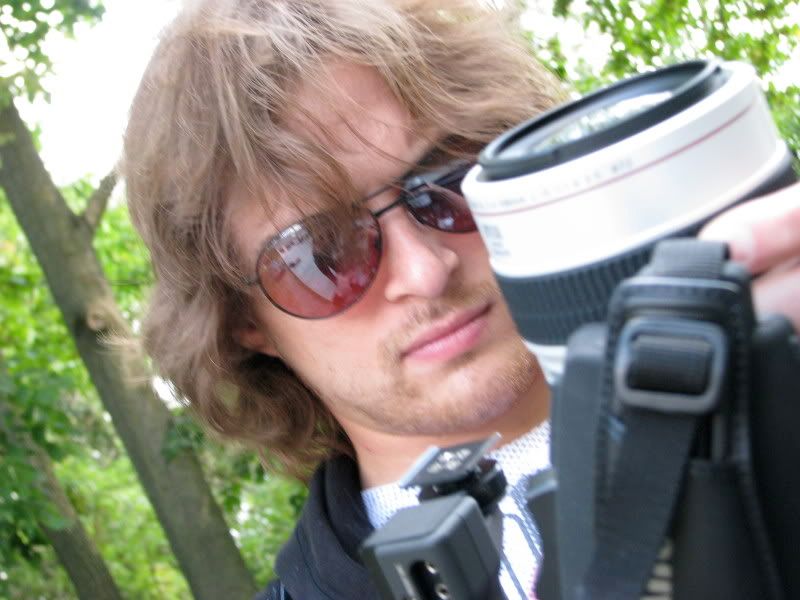
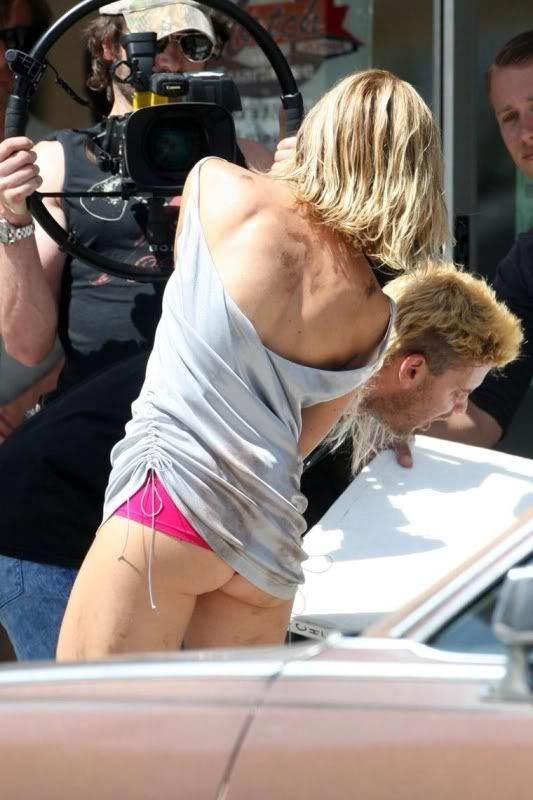
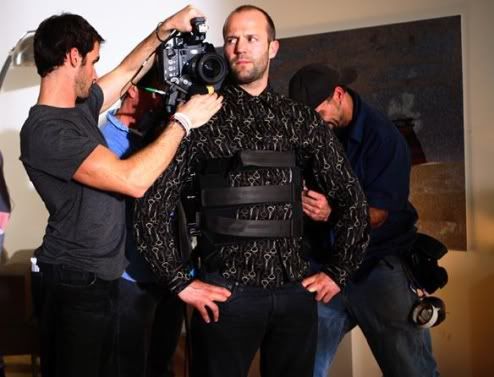
The XHA1 is not an interchangeable lens system, but its stock lens is very decent. The XHA1 is currently being used as the primary camera for CRANK 2, combined with a 35 mm adaptor (min 35 I think)
Below are some images, including a video where you can see the XHA1's on set of Crank 2, however just a warning, that scene has Amy Smart with Nipple Tape...so ... um...if you don't want to see Amy Smart topless with tape over her nipples....uh...don't ...don't watch.
The footage these cameras produce are great, and for internet destined videos, they are a great choice.
The only downside is that they are a pain to capture. The settings used for FCP have to be manually adjusted when using this camera, and before I became accustomed to the XHA1, I was having a hell of time doing this.
So here's my advice if you use and XHA1 – ALWAYS know what frame rate you are shooting with, make sure you use EASY SETUP AND VIDEO/AUDIO PREFERENCES IN FINAL CUT. Change everything to HDV, and make sure you set the 1080i to the specific frame rate.
If you aren't reading the camera after that painful routine, shut down final cut pro, reopen your project and try again with with the firewire plugged into your camera. It should read it at the point.
On to the production.
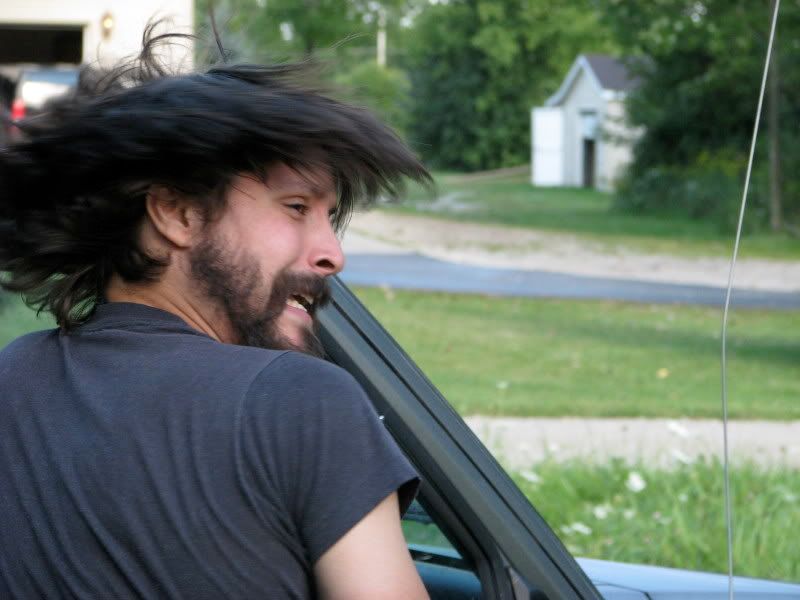
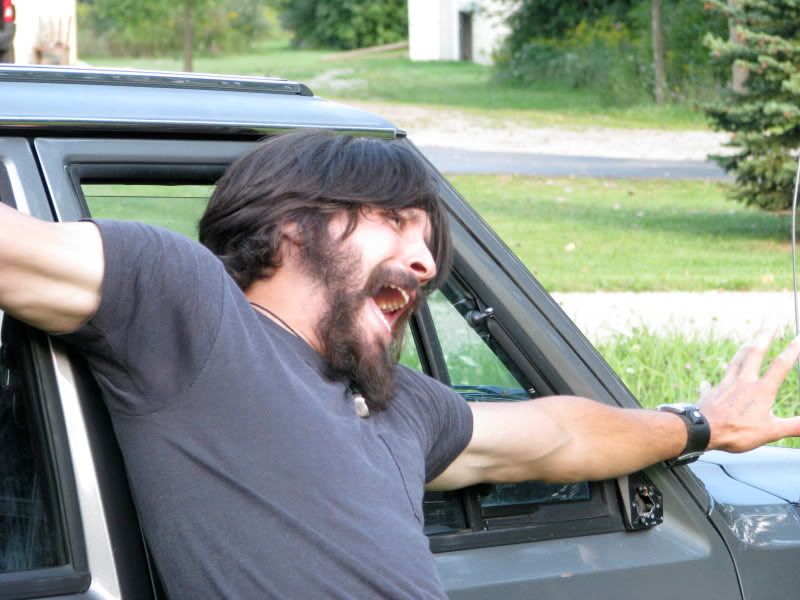
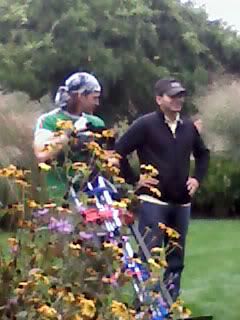
Our talent was Erik Steele, and all of his beardy power, and Brandon Mata, who came up with the skit. Brandon played the character running from the zombies, who finds the jeep.
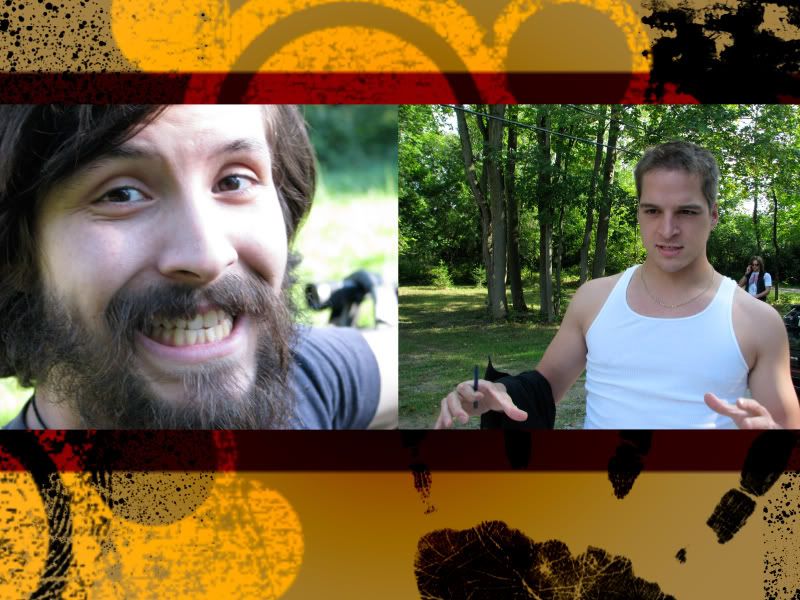
The jeep, a character in itself is the long owned vehicle of one of my best friends, James McCrandell. That thing had been with us since school, and all through college. I'm surprised its not dead.
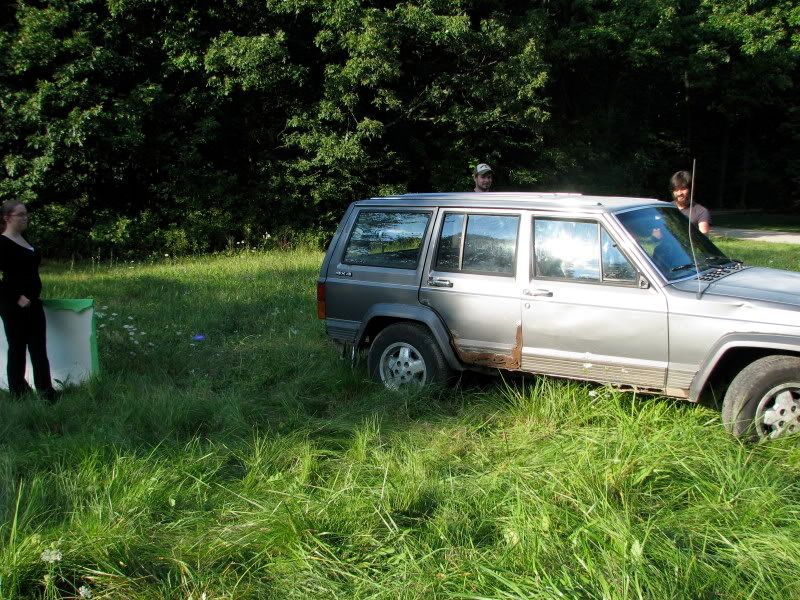

Brandon always intended for that jeep to be in the skit because of its look. He refused to option any other car.
The skit goes like this: Brandon is running from 28 Days Later'esque zombies when he comes across a jeep. He hops in the jeep, but is unable to find the keys. Moments later he is surprised by Steele who desperately wants to get into the vehicle as well. Brandon hears Steele blast ass, and refuses to let him in until he stops because of the smell. Steele confirms he's making the noise, but its an uncontrollable effect when he is anxious. The movie rolls on with Steele trying to cease his farting and Brandon just being a dick about it.
Juvenile, yes, but indeed it was funny to watch Brandon and Erik work off each other.
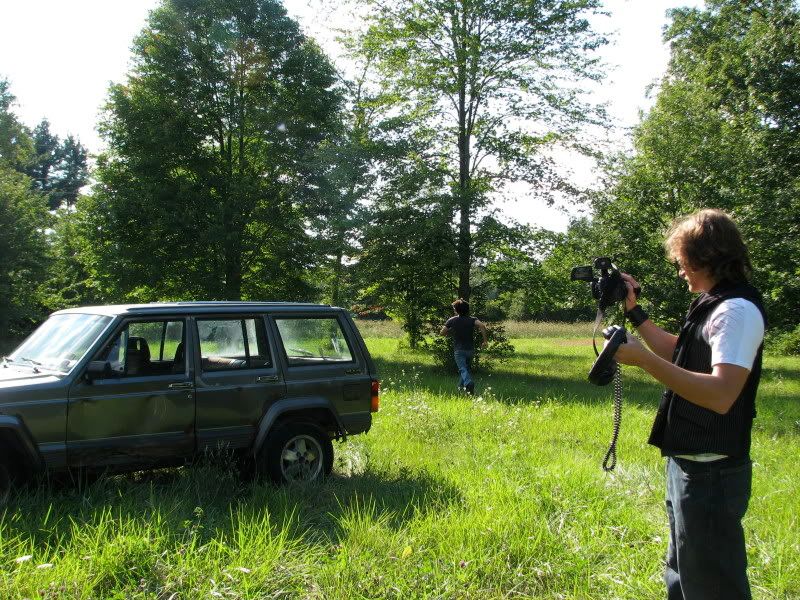
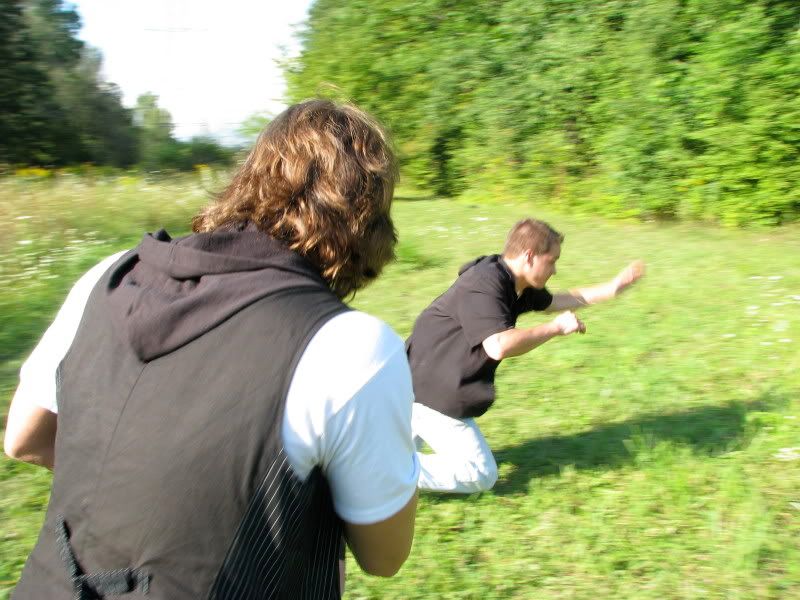
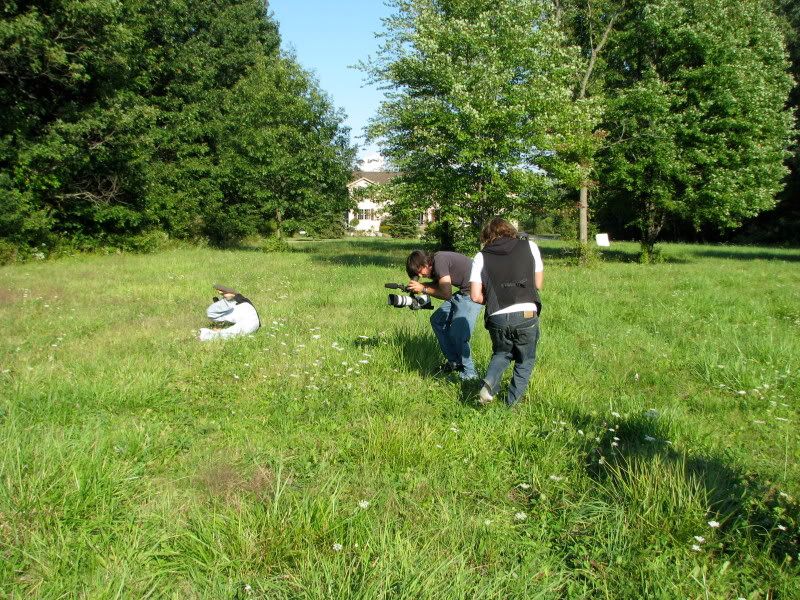
The setup was simple, just our two cameras, built in audio, and some bounce boards. Our first shot was Brandon running through the woods from the zombie scourge behind him. We shot a fast shutter and fairly high stop, occasionally using our ND filters.
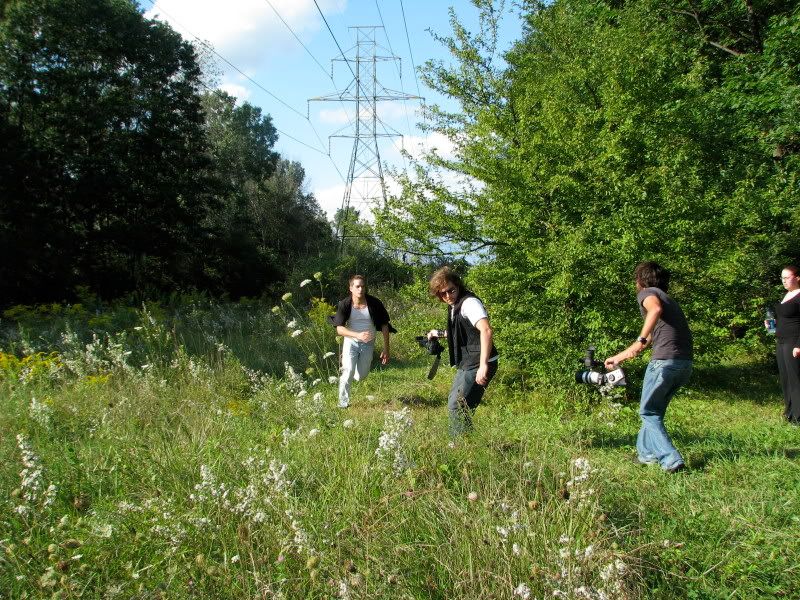
This allowed us to keep a fast paced, hectic feeling. Frame rate was supposed to be set at 24 fs on both cameras, but we'll get to that scenario later.
We strapped the camera and tripod using our belts to a two wheel dolly, which would have been fine on a smoother ground, but the wheels were not heavy duty enough four our woodland location.
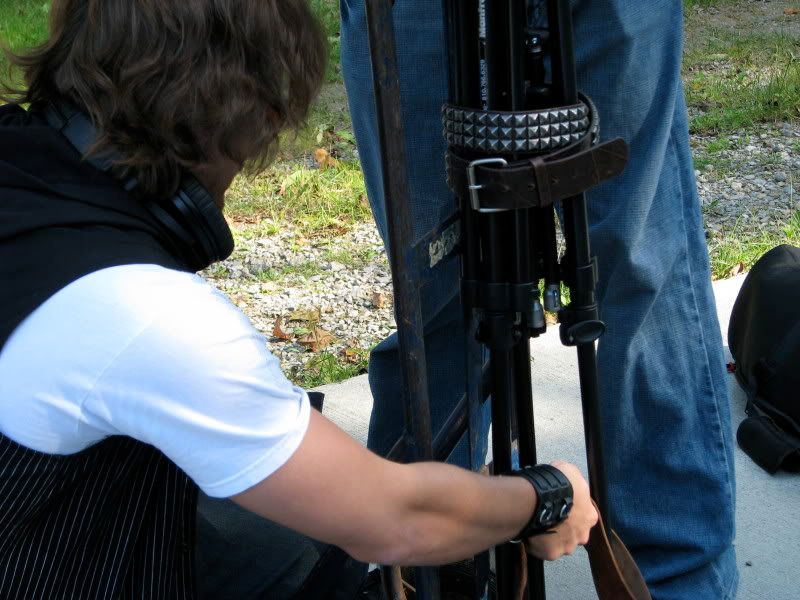

I suggest trying this technique if you'd like a poor mans dolly, but have a flat surface for the camera to roll on.
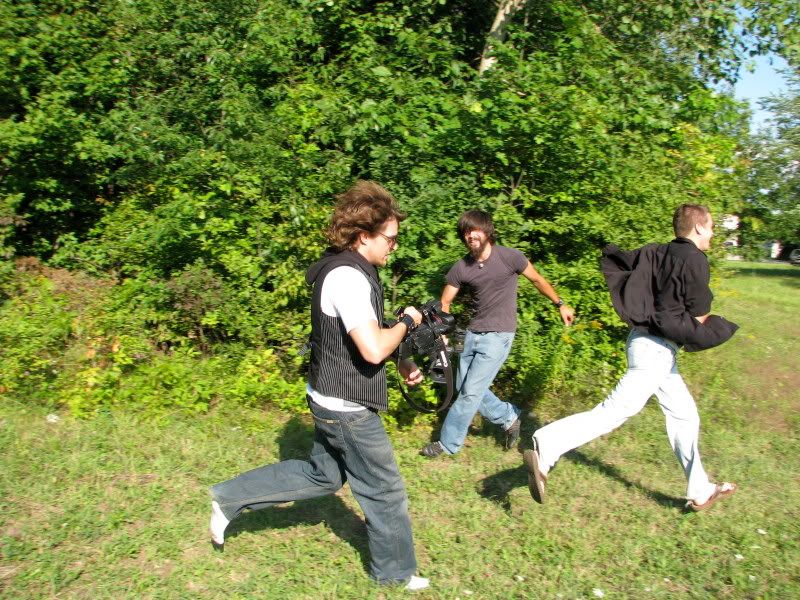
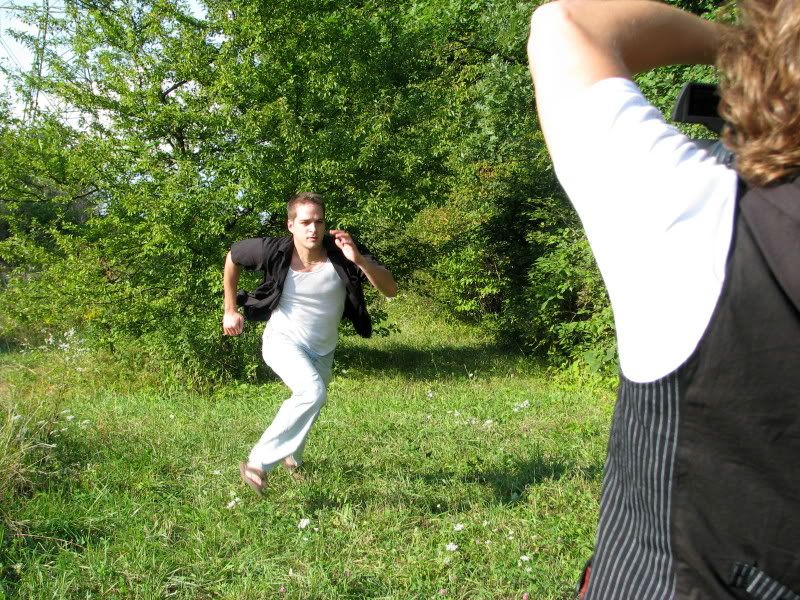
Erik, Bryce, and I shot Brandon from 4 angles: Running behind him, running in front of him, stationary from behind a tree he passed and from a distance ahead of him, zoomed in.
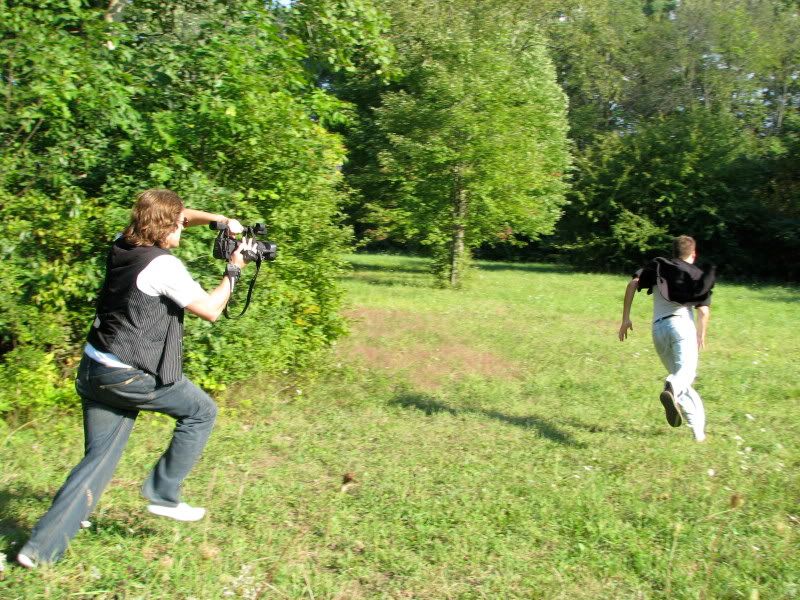
If you'd like to achieve a greater depth of field on a prosumer value camera lens, shoot your subject from a distance at a zoom. This will give you a shallow depth of field and more cinematic look. You'll want to keep the shot a stable as possible though, hand held shots at an extreme zoom makes any shakiness very evident.

Now the property we shot on had a lot of groovy land for us to use, but directly behind the jeep was a very large house. Our way around that was to keep the jeep in the shot as tight as possible (Although the reality is you may catch a glimpse of it here and there.)

When dealing with this in post, you have about a 10-15 percent safety range to use for scale (blowing up the image), especially when down converting to SD. The XL2 footage was used to shoot the opposite direction focused on Steele, except when we had it turned to do the final scene with him screaming in terror.

We then had Brandon hop over the jeep shooting multiple takes. The takes inside of the jeep with Brandon searching for the keys were simple one takes.
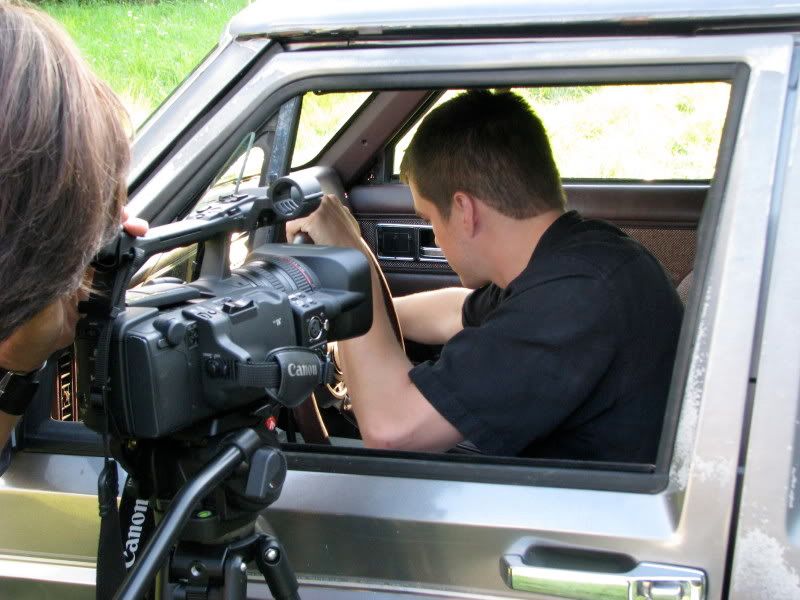
The next shot was from Brandon's window looking through the jeep at the passenger side window where Erik enters the scene. It supposed to be a surprising encounter as Erik comes out of no where and hits the windshield repeatedly begging to be let in.
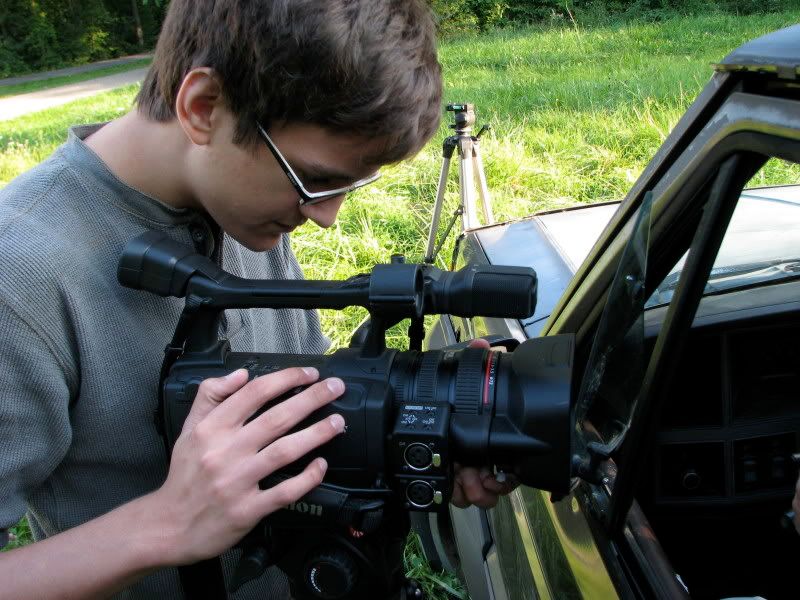
Bryce shot this with the XHA1 and manually wrack-focused from Brandon's face to Erik's entrance. The XHA1 has a really good lens, and I'd recommend this camera to anyone, even it is lame-o HDV compression.
While we had good light, we shot Steele's scene where he screams at an approaching zombie. The XL2 allows smoother Lens control, so we opted to use that for the pull in. The image we were attempting to achieve was a fast zoom on Erik's face during an elongated scream, similar to Kung Fu flicks and classic b horror movie pull ins. We only did two takes, and regrettably it doesn't exactly mimic that technique.
From there we shot three angles on Brandon and Erik collecting as much ad lib as we could. The audio was captured on both camera's stock mics. The XL2 was for Steele, the XHA1 was for Brandon. We were able to isolate the audio in post, but I highly recommend NOT doing this type of operation! Audio spillage occurred on both cameras even with Brandon isolated in the jeep.
The final scene we shot was Steele's character being jumped by a zombie in a gas mask. The XHA1 captures a richer image, with more information in its color. This made Brandon's angles an interesting contrast to Steeles.
Firstly, we shot one stop lower on the XL2, giving it a darker image. We shot towards the sun, which left Steele slightly shadowed out.
The sun remained behind the XHA1 for most of the shoot, giving Brandon's face a warmer color. This created, on complete accident, appropriate images for opposing scenarios. Steele being the doomed character, and Brandon, washed in light, the salvation he was looking for.
We decided to shoot Steele's last scene with the XHA1, and in the end that worked with the same interpretation stated above. Steele's ass gas saved him from being massacred, and now he has a chance to get away.
Using the XHA1 also gave us a little more information in the image so that the characters were nice and evident on their own. You see we were shooting out a dirty window, using a bounce board shade the area enough to take away some of the mess that became very noticeable under harsh sun light.
I recommend having some filters on hand for any shoot especially under direct sun light.
The gas mask we used was my grandpas from WWII. There was a huge argument on who was going to play the final zombie....because no one wanted to do it. The first approaching zombie was played by Brandon wearing my hooded vest, since Steele conceals his absence from the car by being spread out on the passenger window.
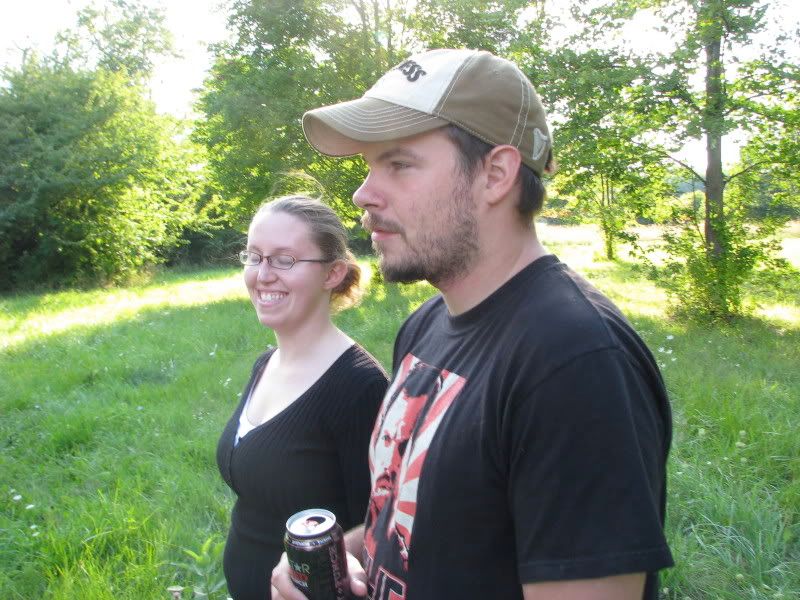
Thankfully, our friend Amy was incredibly helpful during the entire shoot, operating our bounce board, and then volunteering to our final Gas Mask Zombie. In the end I thought it was great to have a female zombie, I've always thought they tend to be creepier, even in a parody like ours.
So all the shots were in the bag. The edit took 3 days to get through. Bryce and I went through all the takes putting together 4 versions of the short.
I'd like to introduce everyone to the Mashni Rule – There is always room to cut. The end cut was five minutes, and even though I'm happy with it, its still too long. There's plenty in the middle that could be cut and the joke would execute much better.
Once we had the chosen cut, Bryce and I parted ways to focus on our own areas. Bryce started working on a parodied version of the 28 days later theme (In The House).
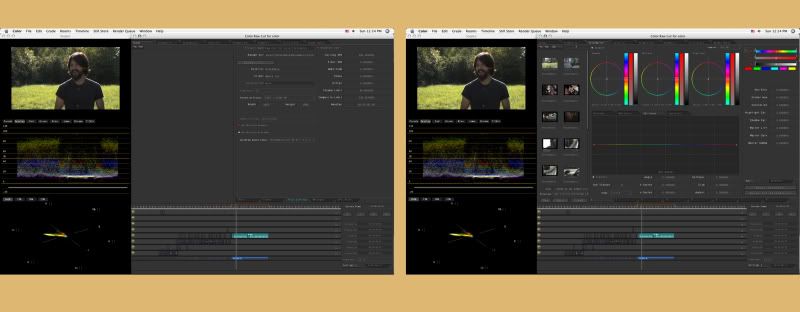
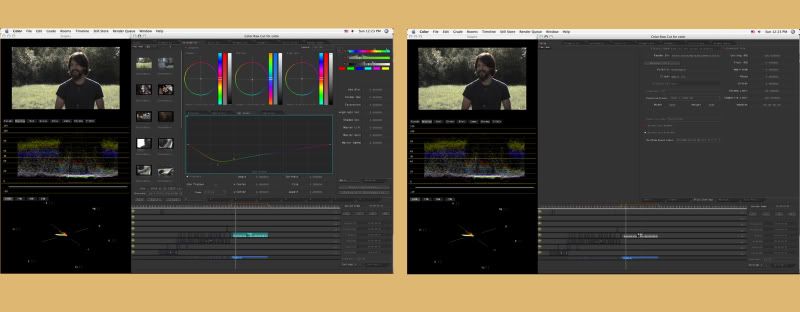
I began to color correct our footage to match scenes we used from 28 weeks later. The footage we captured was incredibly colorful and vibrant, beautiful greens, pale yellows, and blue skies. Everything was eye popping.
Unfortunately this was NOT how the footage looked. ALL of the greens had to be de-saturated, as well as the skin tones.
To do this, I chose to use Apple Color. Apple color uses the original reference file to work off of.
Whenever you cut footage, you are not actually cutting the footage, your cutting a reference file that uses expressions to create in and out points and transitions. It isn't until you've exported it as a new file that it becomes a single isolated video.
Color is a more limited version of this routine. It doesn't recognize motion attributes, transitions, or any effects created in Final cut, so before sending, you need to export any clips that are to be graded as a raw file.
Here is the fun part. For this project, I had to render all camera angles into their own quicktime file. There were 56 clips created.
I used mainly the secondary room, since the most I needed to do was desaturate specific areas of the video. The Color Correction took about a days worth of work, and then a weeks worth of trouble shooting.
We encountered an audio issue during this time. It turned out we had shot the XHA1 at 24 frames, as we intended, but we shot the XL2 at 30. When compressed to a 24-25 frame quicktime file, audio wasn't syncing up.
Let me step back and explain the 24 fps compression. I took all of my video, not the audio, and pasted them into a separate sequence to send off to Color. This was a combination of 24 fps footage and 30 fps footage, with all their audio synced to appropriately with their frame rate. I then exported the entire sequence into a raw file 24fps quicktime file, including the 30 fps, and this was all without the audio. The audio, still in its reference file, can't match up to this footage. I compressed the video, not the audio, because I didn't need the audio in the color room.
I highly recommend that you always treat color correction as the LAST step in your post workflow.
We went back and exported the entire thing with the audio, then chopped it up and prepared it for color.
Color allows you to save a version of your color correction into a reference bin, so at this point all I had to do was resend it to color, drop in the already graded information, and the round trip it back to Final Cut.
Now we have our entire video finished, and its time to drop in the farts.
Again, I do NOT recommend this workflow. You should have everything, including your foley and adr finished by the time you go into color to avoid sync mishaps. Color Grading should be your FINAL step if you are pursuing a professional post workflow.
This project was for fun and post was managed solely by my brother Bryce and myself, so some compromises were made, but I guarantee you I will never do that again.
Try and practice professional workflows in all of your projects, even if its a no-budget fun filming on the fly. (Let's put that on a T-Shirt)
Back to the Farts. Bryce and I created these farts in the span of an hour and half. Every fart you hear is a unique Mata creation.
Oddly enough, placing these ass sounds in the appropriate areas was a task. We wanted to start with one that was clear sounding, but not the funniest. We had to make sure not to have the farts constantly falling off Steele's words because, that would have just been annoying. When one of our actors addressed the farts, we needed a sound that fit the reaction or description.
It took us a bit, but we figured out what sounded best in the end (PPUUUUUNNN!)
Bryce, an audio nut in every way, was incredibly irritated that we hadn't played around longer with the fart audio. We should have cleaned it up so that when the farts were occurring outside the car, they sounded muffled, and when the camera was on Steele, the farts should have sounded in front of you.
But we were almost four weeks into the production, and I wanted to get it out for Halloween, so playing under that deadline, we compressed the sucker and uploaded onto youtube.
In conclusion: This was just a fun project, with no real script, two different cameras, and a small group of friends just making a bunch fart jokes.
However, treat every project with a sincere amount of professionalism and enthusiasm, and you'll grow as an artist, even if it involves silly ass humor like this one does.
Right now I'm in the middle of color correcting footage from our latest short, a low budget festival headed flick that we are insanely excited to share with you!
Until then!
Brent
Zombie Anxiety (Watch High Res at Youtube)

No comments:
Post a Comment